- calendar_month August 6, 2024
- folder Home Improvement
Sharing Tags
Glendale California Real Estate Agent, Glendale Real Estate, House, Listing Agent, Los Angeles, Los Angeles Real Estate, Rosa Peña, RosaPenaRealty.com
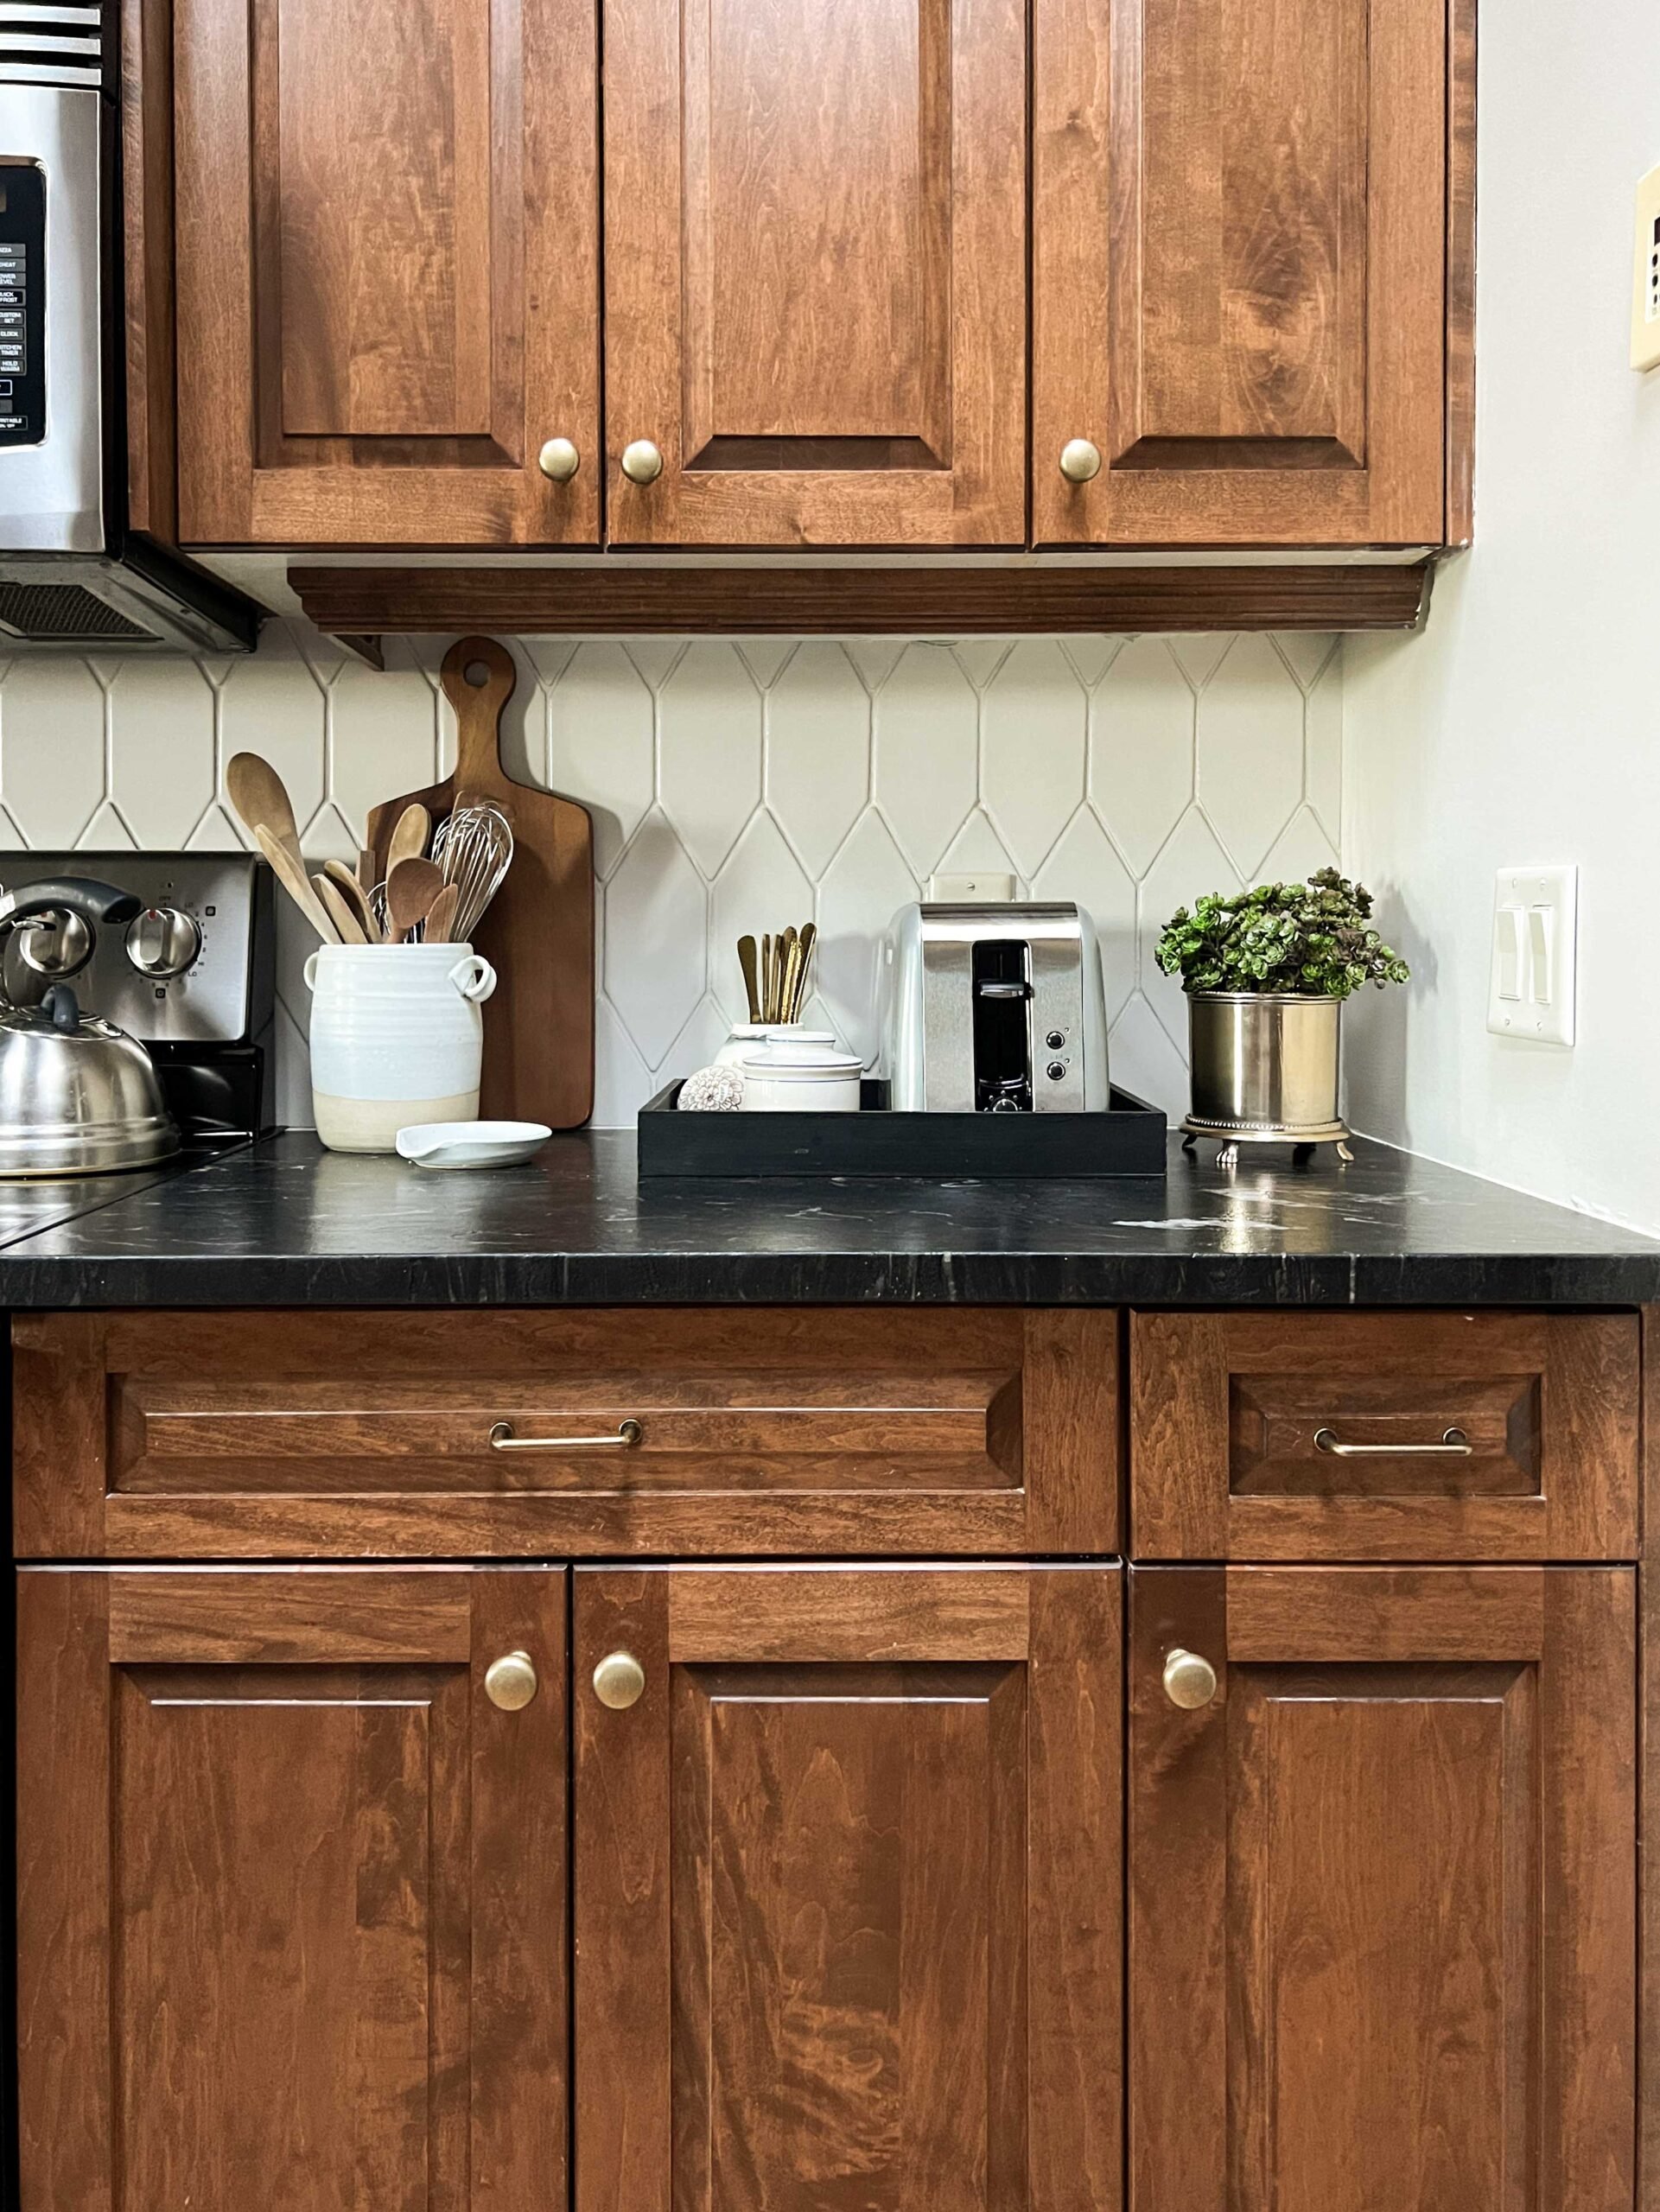
Updating your kitchen can sometimes mean undergoing a complete remodel. Sometimes, a simple change like updating your backsplash can breathe new life into your space. Here's how you can give your kitchen a fresh look with a new backsplash without the hassle and cost of a complete renovation.
Why Update the Backsplash?
The backsplash is one of the most visible elements in a kitchen. It can set the tone for the entire space and tie together your kitchen's color scheme and decor. Over time, backsplashes can become outdated, stained, or damaged, making your kitchen look tired and less appealing. Updating the backsplash allows you to modernize and brighten your kitchen without a major overhaul.
Planning Your Backsplash Update
Before you begin, consider the following:
- Style and Design: What look are you going for? Modern, classic, rustic, or something unique? For inspiration, browse design magazines, websites, and social media platforms like Pinterest and Instagram.
- Material: There are many materials to choose from, each with pros and cons. Common options include tile, glass, stainless steel, and peel-and-stick options for a DIY-friendly approach.
- Budget: Determine how much you're willing to spend. The cost will depend on your chosen material and whether you plan to hire a professional or do it yourself.
Choosing the Right Material
- Tile: Ceramic, porcelain, and glass tiles are popular choices. They come in various colors, patterns, and sizes, allowing endless design possibilities. Subway tiles are a timeless option, while mosaic tiles can add a splash of color and texture.
- Peel-and-Stick: For a budget-friendly and easy-to-install option, consider peel-and-stick tiles. These adhesive tiles mimic the look of traditional tile but can be installed without grout or specialized tools. They're perfect for renters or those looking for a temporary solution.
- Stainless Steel: For a sleek, modern look, stainless steel is a great option. It's durable, easy to clean, and adds a professional touch to your kitchen.
- Glass: Glass backsplashes can add a glossy, reflective quality to your kitchen. They come in various colors and can be customized with printed designs or photos.
DIY vs. Professional Installation
DIY: If you're handy and enjoy tackling home improvement projects, updating your backsplash can be a fun and rewarding DIY project. Peel-and-stick tiles, in particular, are very user-friendly and can be installed with minimal tools.
Professional: If you choose a more complex material like traditional tile or stainless steel, or if you simply prefer not to do it yourself, hiring a professional can ensure a flawless finish. While this adds to the cost, it can save time and hassle.
Step-by-Step Guide to Updating Your Backsplash
Materials Needed
- New backsplash tiles or materials
- Tile adhesive (if not using peel-and-stick)
- Grout
- Tile spacers
- Level
- Measuring tape
- Utility knife or tile cutter
- Sponge and bucket
- Painter's tape and plastic sheeting (for protecting countertops)
Instructions
- Prepare the Area: Remove any existing backsplash material. Clean the wall surface thoroughly to remove grease and debris. Use painter's tape and plastic sheeting to protect your countertops and cabinets.
- Measure and Plan: Measure the area to determine how much material you'll need. Lay out your tiles on the floor to get a sense of the pattern and fit.
- Apply Adhesive: If using traditional tiles, apply tile adhesive to the wall with a notched trowel. For peel-and-stick tiles, follow the manufacturer's instructions.
- Place Tiles: Start at the bottom center of your backsplash area and work your way outwards, using tile spacers to ensure even spacing. Use a level to keep your tiles straight.
- Cut Tiles as Needed: Use a tile cutter or utility knife to cut tiles to fit around outlets, corners, and edges.
- Grout (if applicable): Once the adhesive is dry, apply grout between the tiles with a rubber float. Wipe away excess grout with a damp sponge, rinsing frequently.
- Finishing Touches: Let the grout cure according to the manufacturer's instructions. Remove the painter's tape and plastic sheeting, and clean your new backsplash with a damp cloth.
Enjoy Your Updated Kitchen
Updating your backsplash is a fantastic way to give your kitchen a fresh look without the expense and inconvenience of a full remodel. With a bit of planning and effort, you can transform your space and enjoy a stylish, updated kitchen that feels brand new. Happy renovating!
